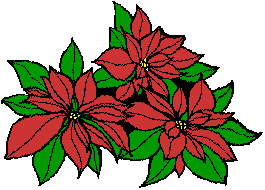
A Poinsettia For You To Make

You will Need:
Poinsettia patterns
Red and Yellow markers or crayons
or
Red and Yellow construction paper
School Glue
Scissors
(Optional)
You might want to print out the instructions as text
Green Pipecleaners
Tacky Glue
Magnetic Tape
Regular Tape
Step One - Print out the poinsettia
patterns.
Poinsettia Flower and
Centers
Poinsettia
Leaves
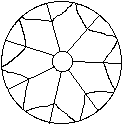
Step Two - Cut out the big circle pattern
and the leaves pattern. You can either tape the patterns to red and
green construction paper and cut them out or cut them out and color
the flower red and the leaves green.
Step Three - Cut along the black lines on
the flower pattern from the outside edge to the outside edge of the
inner circle.
Step Four - Fold under the edges of each
petal (see diagram A) and glue the tips together, but do not glue to
the petal; you want sort of a 3D effect.
Diagram A

Step Five - Center your flower on the
leaves and glue in place.
Step Six - Cut out the center circles from
yellow construction paper or cut out the circles and color them
yellow. Glue the circles to the center of the flower, use as many or
as few as you wish.
Step Seven - Enjoy your flower!!
If you want you can put a stem on your flower, you
can use two green pipecleaners twisted together with a circle twisted
at one end (see diagram B). Glue the circle to the bottom of the
flower - you may want to use a tacky glue for this step.
Diagram B

You may want, instead, to put a piece of magnetic
tape on the bottom of the flower for a refrigerater decoration.
Or you may come up with some other way to display
your poinsettias. I'd love to hear about your ideas!
Bry-Back
Manor/Holiday Fun

